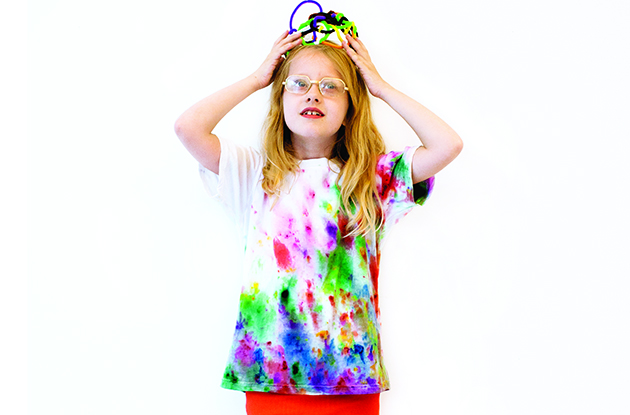
How to Tie-Dye with Food Coloring or Frozen Dye
Two new takes on tie-dying T-shirts—a favorite summer camp activity you can do at home
Get the Best Winter Activities
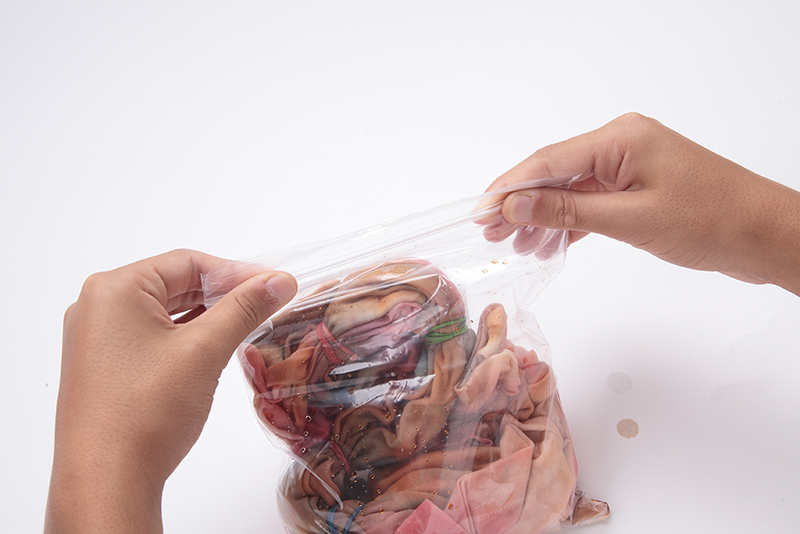
Step 6: When your T-shirt is completely soaked in food coloring and cold water, place the tie dyed T-shirt roll into a resealable plastic bag and leave to rest in the bag overnight.
Step 7: The next day, take the T-shirt out of the bag and remove the elastic bands. Pour the salt and ½ cup (125ml) of cold water into a large bowl. Plunge the T-shirt into the salt water to set the dye and then wring the T-shirt out.
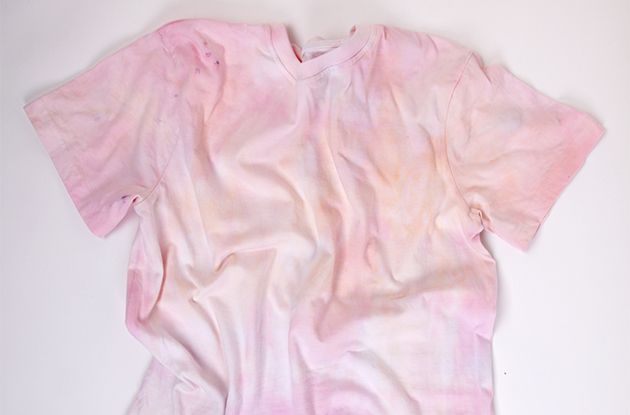
Step 8: Rinse your dyed T-shirt in clean water several times until the water runs clear—take care when you rinse, as splashes of water may stain you and your clothes as the food coloring rinses off. Wring it out a final time and hang out to dry—preferably in the sun.
RELATED: Get More Fun Like This in Your Inbox!
How to Tie-Dye Using Frozen Dye
Ready for a new take on tie-dye T-shirts? Enter Kid Made Modern’s galaxy-like T-shirt, which uses frozen cubes of dye that have been smashed up with a hammer. So prepare your materials and head outside for an afternoon of custom T-shirt making fun!
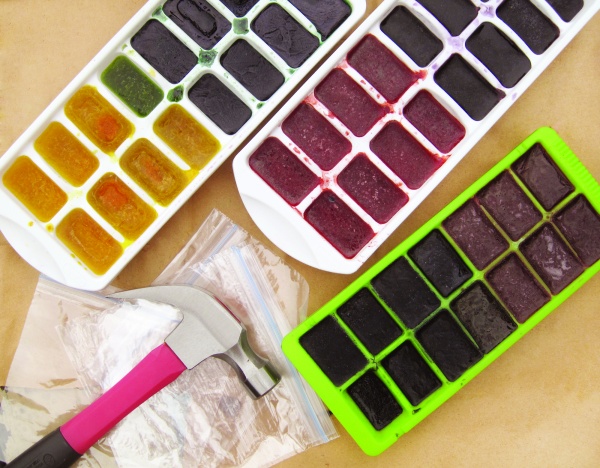
Things you need to tie-dye with frozen dye:
- Dye
- Ice cube trays
- Plastic sandwich bags
- Hammer
- Cloth for hammering
- Washed T-shirt
Directions to tie-dye with frozen dye:
Step 1: Prepare dye colors and freeze them in ice cube trays. Place the frozen cubes in plastic bags.
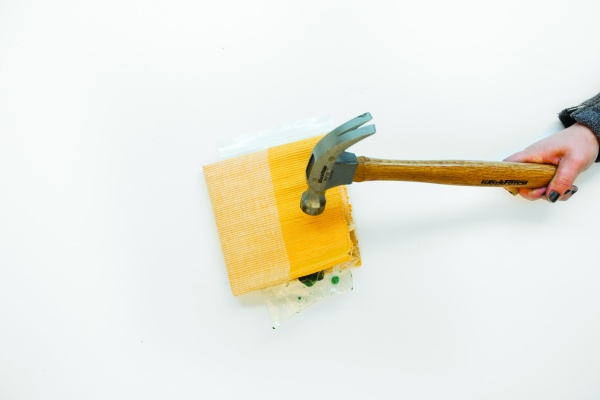
Step 2: Place the cloth on top of the bag and lightly break the cubes apart with the hammer.
Step 3: This part can get messy so best to do this outside. Sprinkle the frozen dye onto the T-shirt as you like.
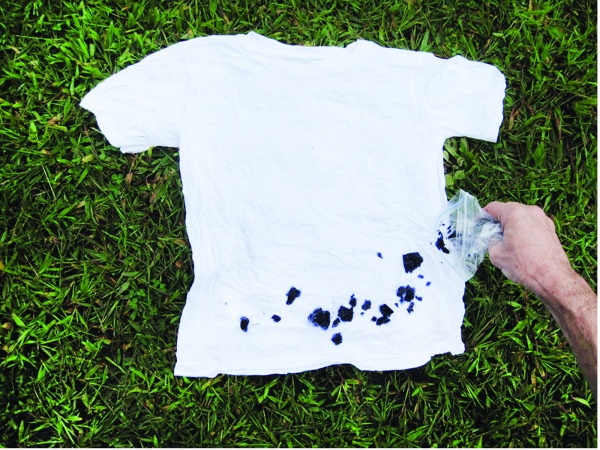
Step 4: Continue sprinkling the frozen dye until your design is complete.
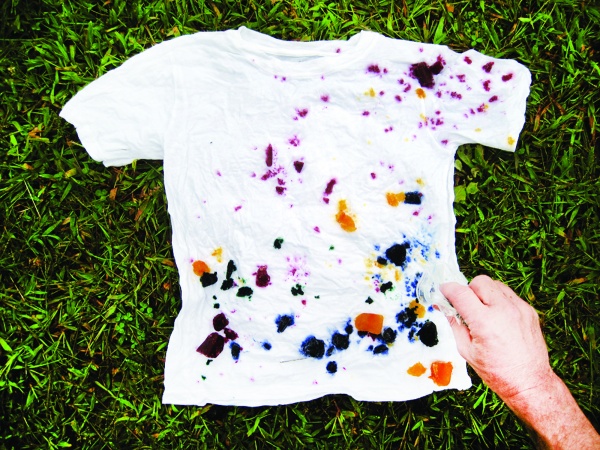
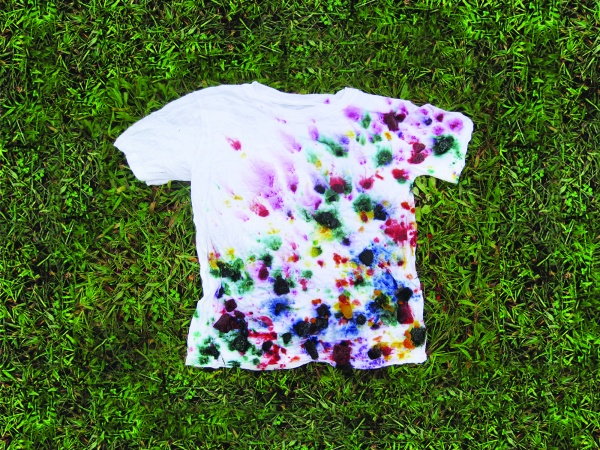
Step 5: Watch the dye diffuse and blend and then shake the dye off when you feel the design is finished. Rinse and “set” per the dye instructions on the box.
RELATED: Download Our Free Guide to Summer During Coronavirus