The Perfect DIY Craft to Teach Your Little One About Trajectory
It's time to get crafty with this Squeezy Bottle Rocket DIY!
Get the Best Winter Activities
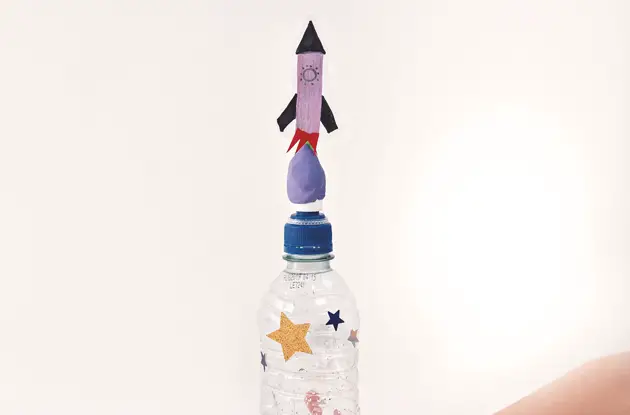
- Cut the thinner straw into quarters and put one segment into the center of the sports cap. Seal the straw around the cap using modeling clay. You can check if the seal is complete by squeezing the bottle: If the seal is secure, all of the air from the bottle should come out of the straw, not the bottle neck. This is your rocket launcher!
- To make the rocket part, first cut the wider straw into quarters and seal one end with tape; this is to stop air from escaping. Draw a rocket shape with felt tip pens on the cardstock or paper. Remember, the lighter the rocket, the farther it will fly.
- Attach the paper rocket onto one side of the rocket straw using tape and place it onto the straw in the rocket launcher.
- Squeeze the rocket launcher hard, and you should find that the rocket shoots up into the air. Try launching at different angles to see how you can make the rocket fly farther.
Reprinted from This is Rocket Science by Emma Vanstone with permission from Page Street Publishing Co. Photography by Charlotte Dart.